Secure RDP Access via SSH for Arc VM
Securely connecting to Azure Arc-enabled servers using RDP over SSH

With Azure Arc-enabled servers, many of us are already familiar with the ability to establish SSH connections to these machines. If this is news to you, here’s something exciting: you can SSH into Windows machines that have been onboarded to Azure Arc! Now, I can imagine security professionals having a moment of concern—yes, you read that right: SSH access to Windows machines onboarded with Azure Arc is possible.
Here’s an even bigger revelation: this applies not only to on-premises machines but also to Azure Arc-enabled servers running on other cloud platforms like AWS and GCP. However, before panic sets in, let me assure you that this functionality is secure and well-architected for safe usage. (Although I’ll admit, I’m not the security expert breaking out in a cold sweat right now!)
How does this work?
SSH for Arc-enabled servers allows secure, seamless SSH connections to your Azure Arc-enabled machines without requiring a public IP address or opening additional ports. This feature can be utilized interactively, automated within workflows, or integrated into existing SSH-based management tooling.
Key Benefits of SSH for Arc-Enabled Servers
Here are some of the standout advantages of this feature:
- No public IP address or open SSH ports are required.
- Supports both Windows and Linux servers.
- Login options include local user accounts or Azure AD users (Linux only).
- Integrates seamlessly with OpenSSH-based tools, including support for configuration files.
But What About RDP Over SSH?
Now that we’ve covered SSH, let’s dive into the main topic: securely connecting to your Azure Arc-enabled servers using RDP over SSH. This approach allows you to establish secure RDP connections to your Azure Arc-enabled machines, regardless of where they’re hosted—be it Azure Local, on-premises environments like vSphere and Hyper-V, or even cloud platforms like AWS and GCP.
Let’s explore how you can achieve this across various environments while maintaining security and operational efficiency.
Secure RDP Access Via SSH
The following steps will be taken:
- Install Azure Cli for PowerShell
- Install WindowsOpenSSH Extension via Azure Portal
- Connect to Azure Arc enabled Server via SSH
- Connect to Azure Arc via RDP over SSH
Install Azure Cli for PowerShell
To install Azure Cli for PowerShell, the easiest way is to use Winget. This will work on Windows 11 and Windows Server 2025 Servers. The following command will install Azure Cli on PowerShell:
winget install -e --id Microsoft.AzureCLI
For more ways to install the Azure CLi for PowerShell or for Linux the following Microsoft Learn Document can be handy: How to install the Azure Cli
Install OpenSSH Extension
First, let’s verify whether the extension is already installed. This can be done using the Azure CLI or through the Azure Portal.
Verify from portal
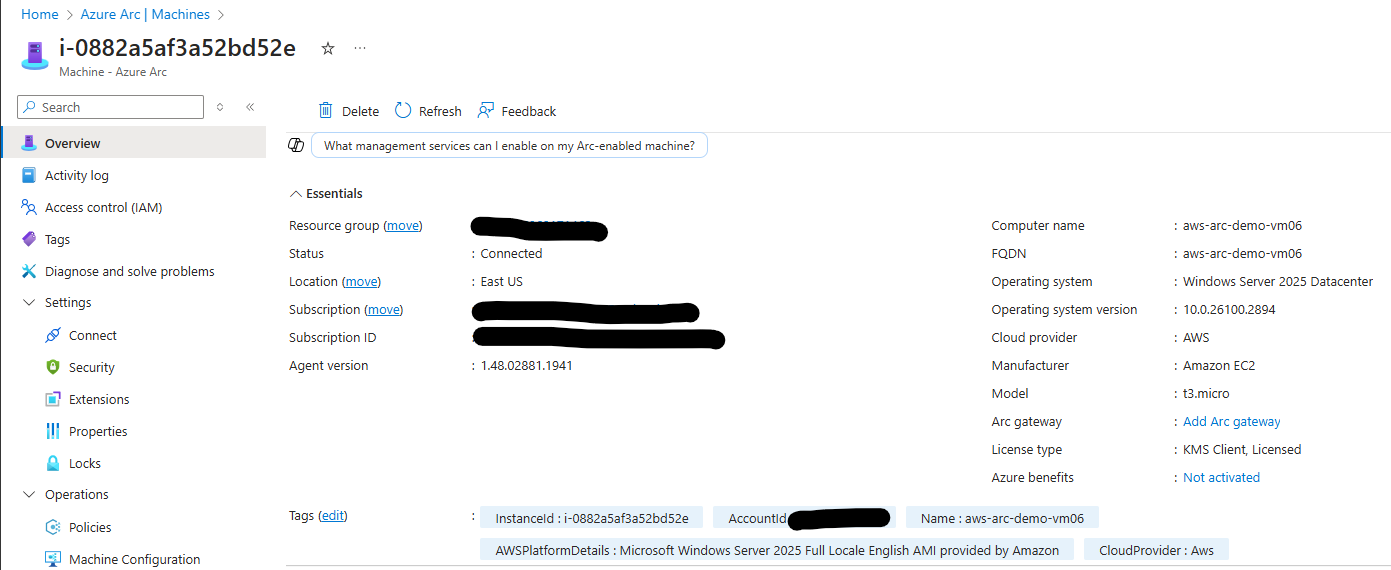
From the Azure Portal, navigate to the Azure Arc blade, then select Azure Arc Resources, followed by Machines. From the list of machines, select the desired Azure Arc-enabled server.
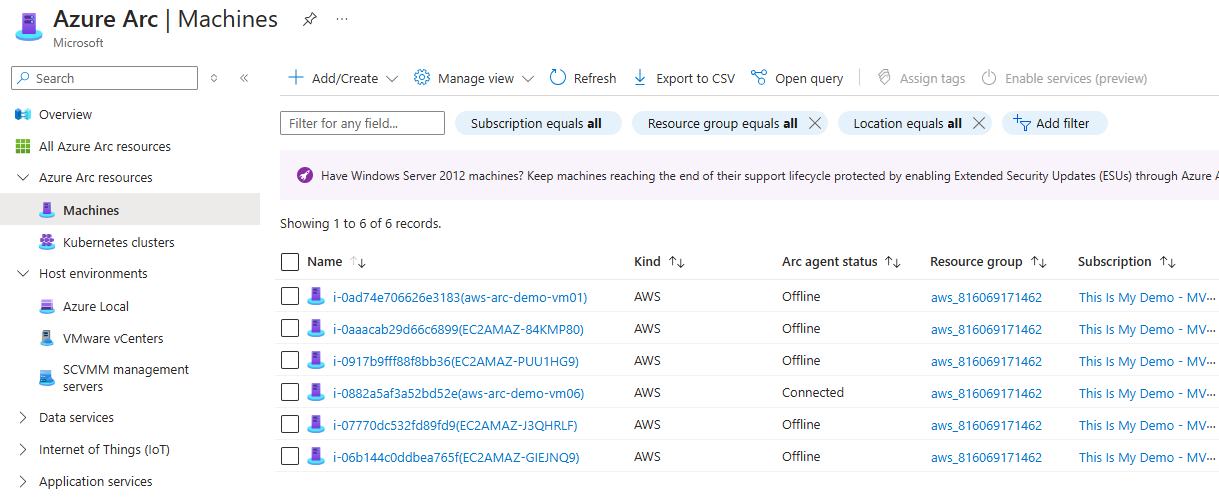
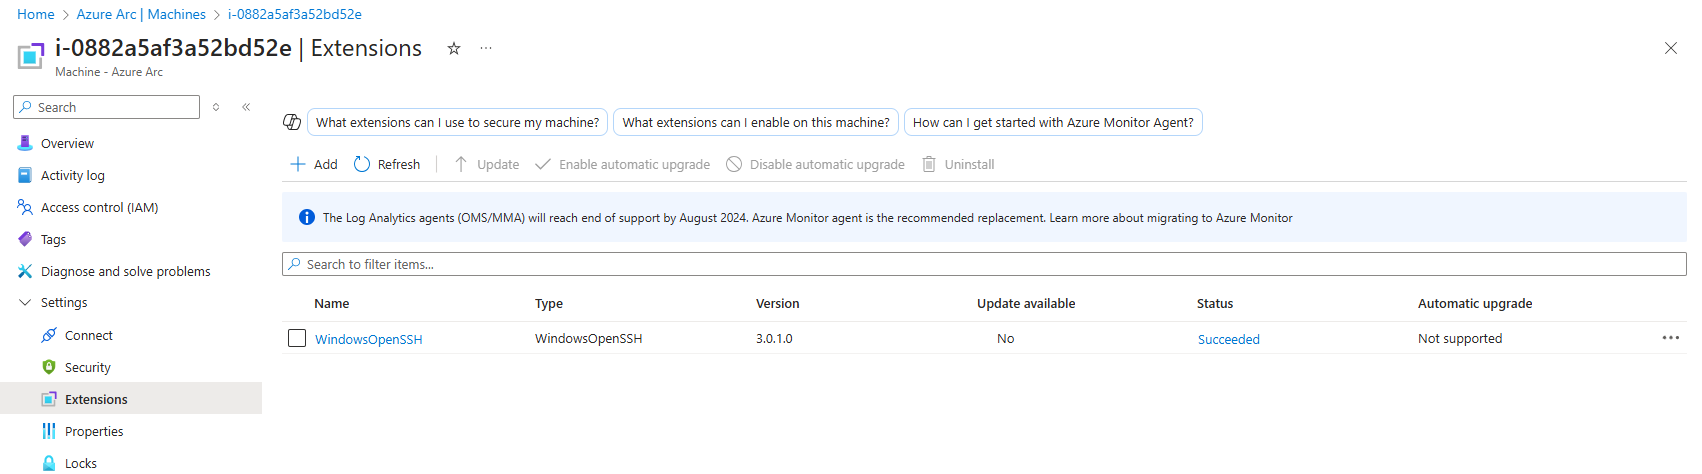
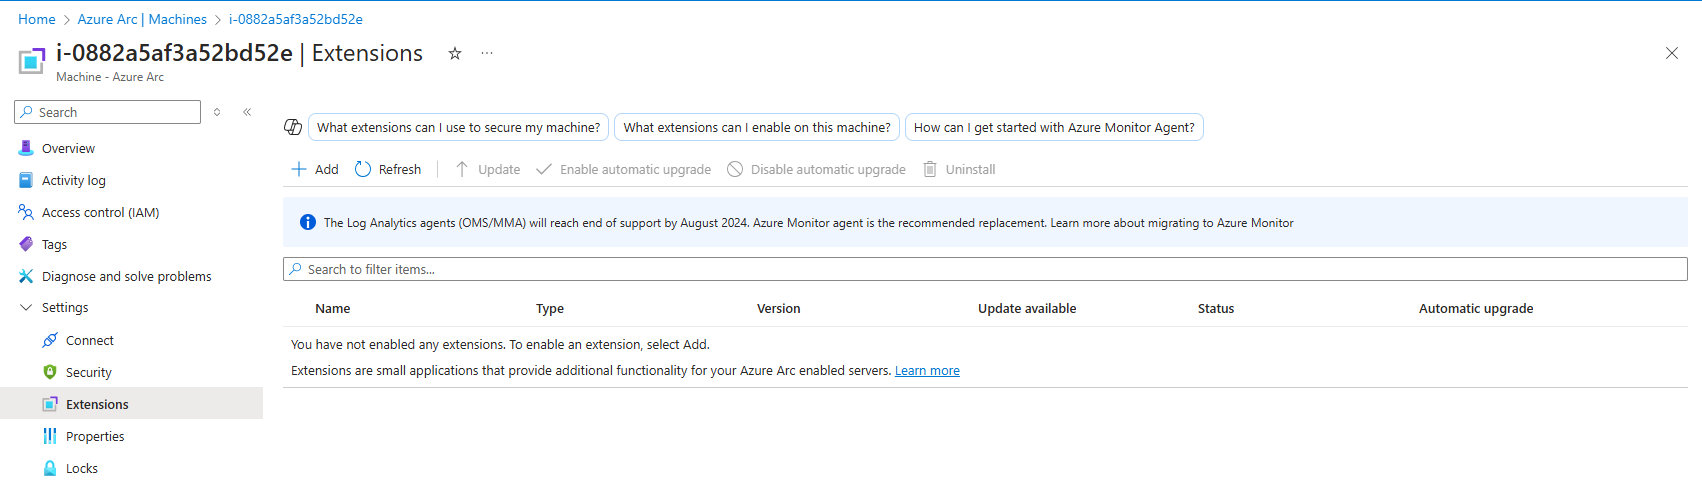
On the selected Azure Arc resource, navigate to Settings and then select Extensions.
From the Extensions blade, check if the WindowsOpenSSH extension is already installed.
- If the extension is installed, you can proceed to the Connecting to Your Azure Arc-Enabled Server via SSH section.
- If it is not installed, continue with the steps to install the extension, either through the Azure Portal or using the Azure CLI.
Verify from Azure Cli
Run the following Azure Cli commands:
Login to your subscription:
az login
az connectedmachine extension list --machine-name AzureArcMachineName --resource-group AzureResourceGroup


Install from the portal
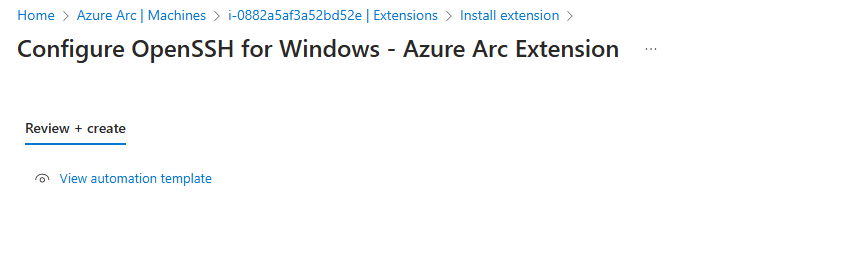
To install the WindowsOpenSSH extension from the Azure Portal:
- Navigate to the Azure Arc blade and select Machines from the Azure Arc Resources section.
- From the list of machines, select the Azure Arc-enabled server where the extension needs to be installed.
- Open the selected resource, and in the Settings section, select Extensions.
In the Extensions blade, click + Add to install a new extension. Select WindowsOpenSSH from the list of available extensions, then follow the prompts to complete the installation.

Click to install the extension.
Note: Starting with Windows Server 2025, you can also enable Remote SSH Access directly through the Server Manager.

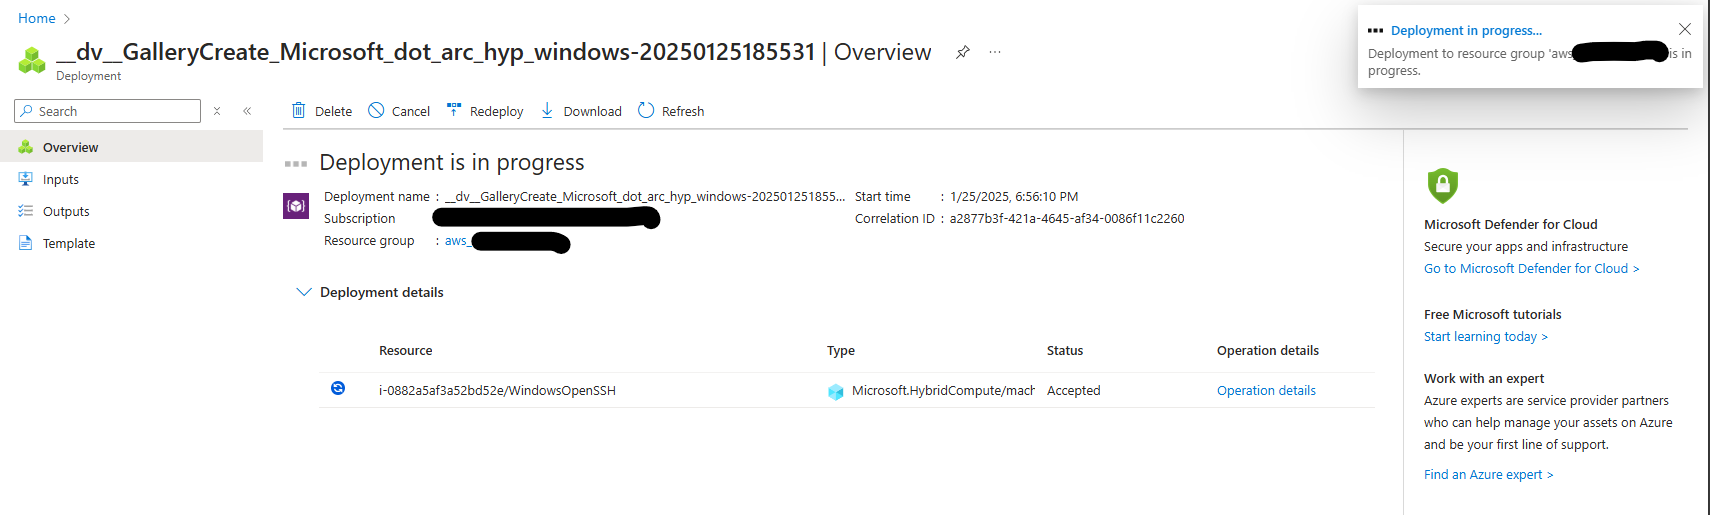
The extension will begin deploying. Please note that the WindowsOpenSSH extension may take approximately 5 minutes to complete the installation.
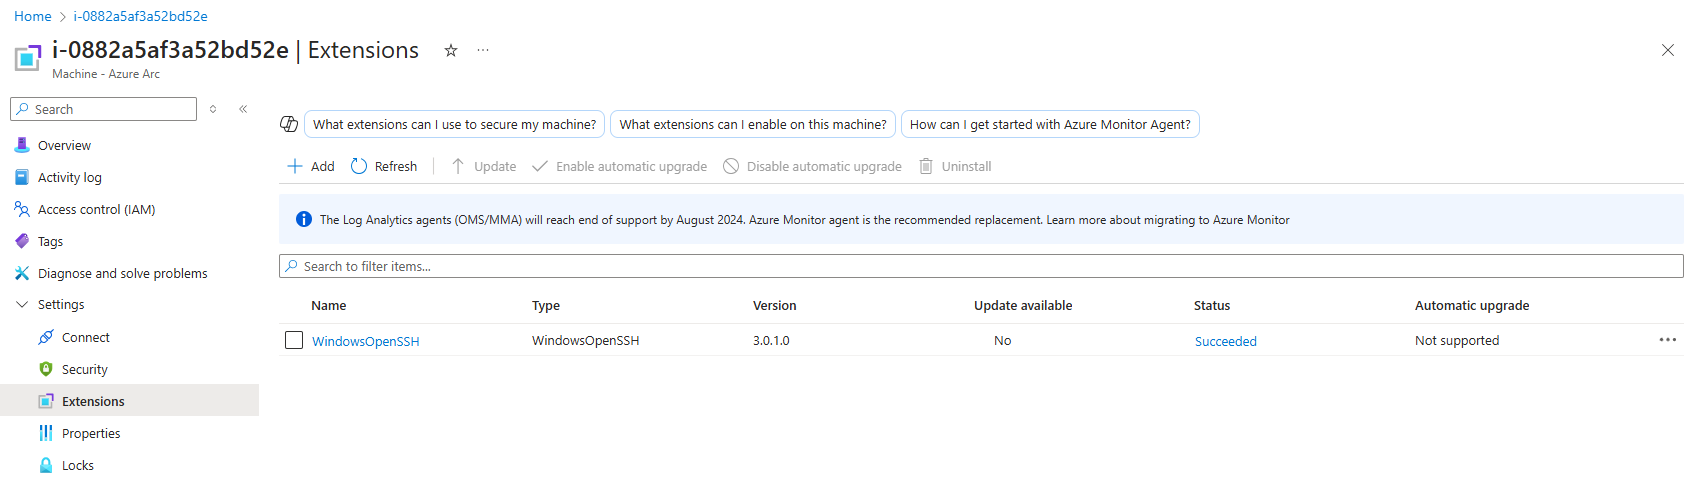
Once the installation is complete, navigate back to the Extensions blade on the selected Azure Arc resource to verify that the WindowsOpenSSH extension has been successfully installed.
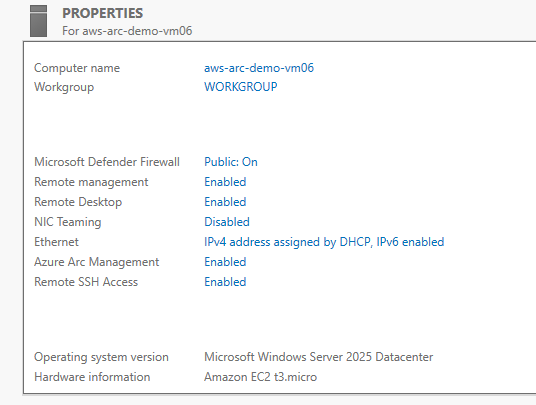
Additionally, you can return to Server Manager on the server to confirm that Remote SSH Access is now showing as enabled.
Install from Azure Cli
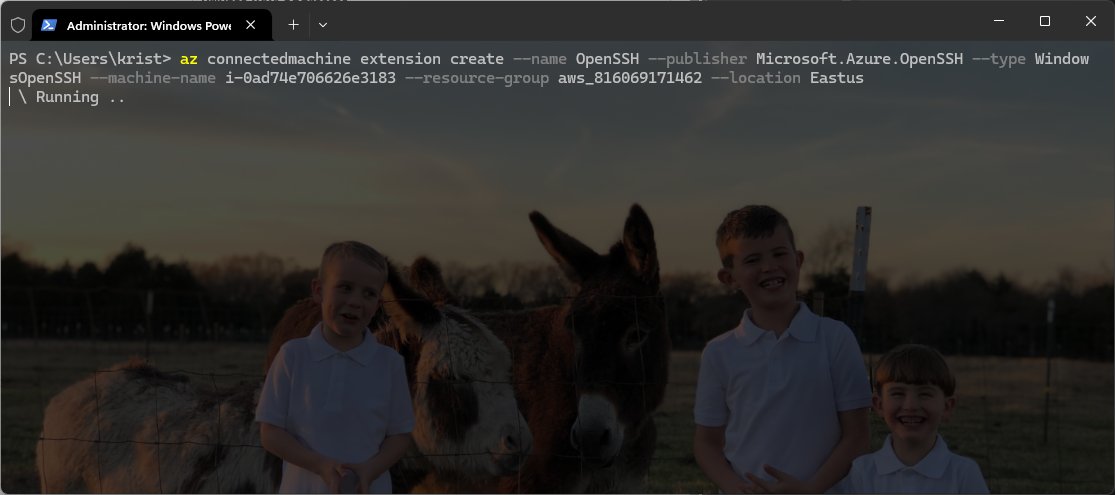
If the extension is not installed, you also have the option to install it using the Azure CLI. Run the following command:
az connectedmachine extension create --name OpenSSH --publisher Microsoft.Azure.OpenSSH --type WindowsOpenSSH --resource-group <ResourceGroupName> --machine-name <AzureArcVmName> --location <AzureRegion>
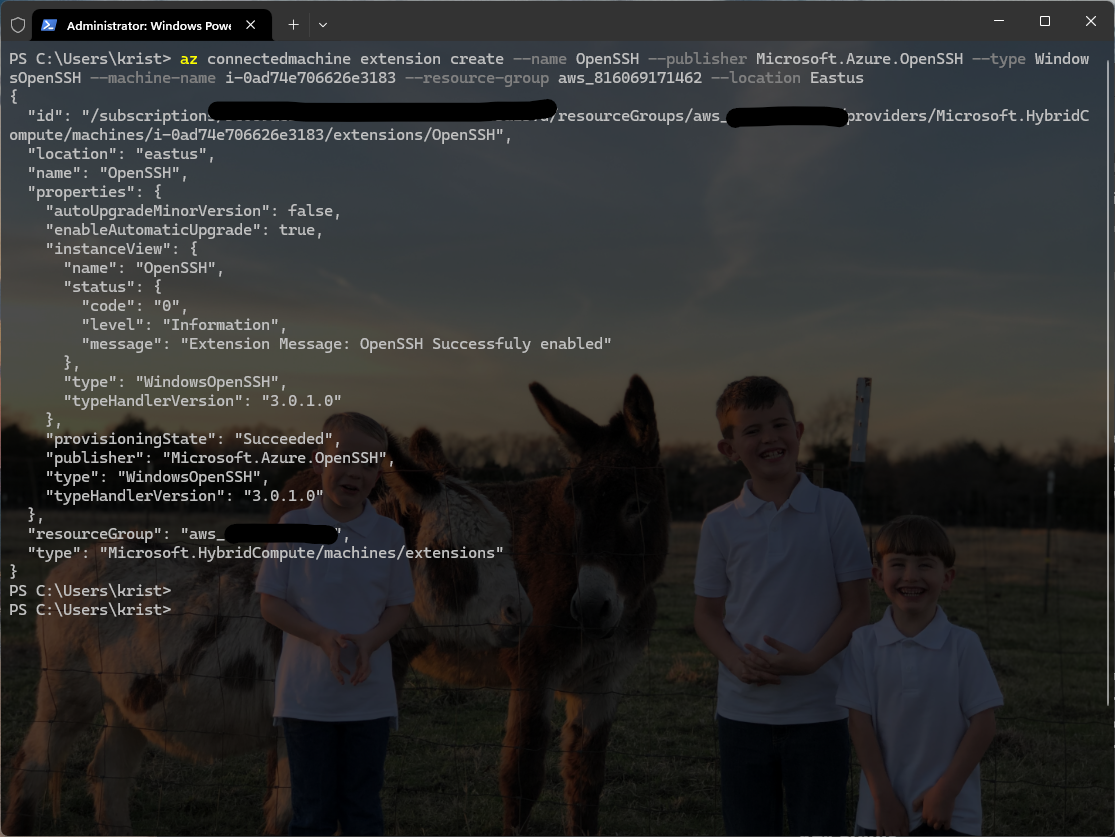
When the extension is successfully installed, the following output (or similar) should appear in the command window:
Connect to Server via SSH
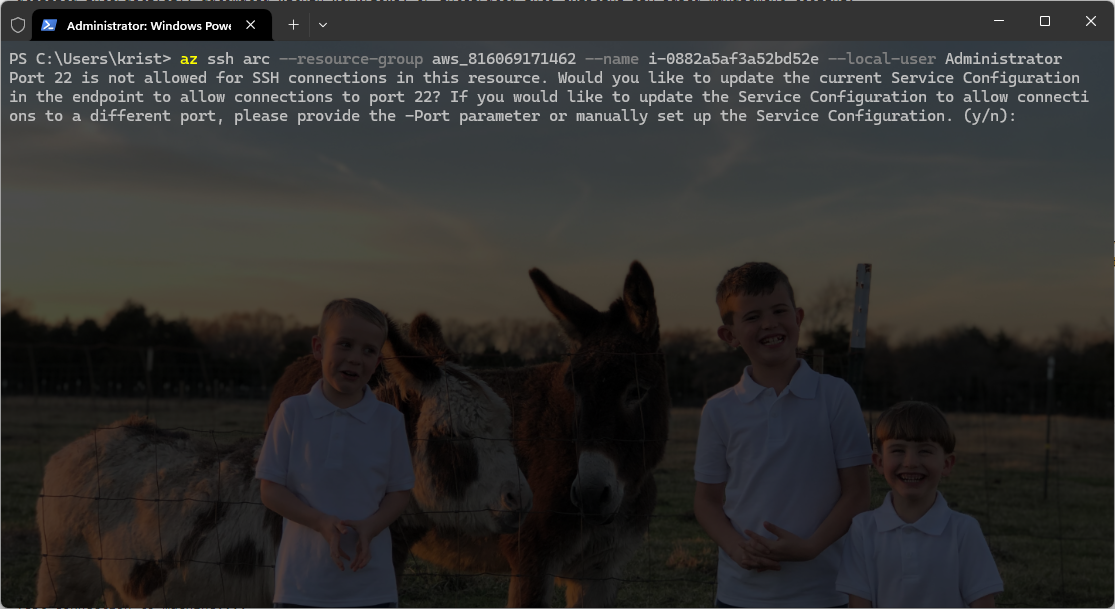
Now that the extension is installed, we are ready to establish our first connection to the Azure Arc-enabled server via SSH. Use the following Azure CLI command:
az ssh arc --resource-group <ResourceGroupName> --name <AzureArcVmName --local-user <Administrator>
The first time you attempt the connection, you may see the following prompt, Port 22 is not allowed for SSH connections on this resource. Would you like to update the current Service Configuration in the endpoint to allow connections to port 22?
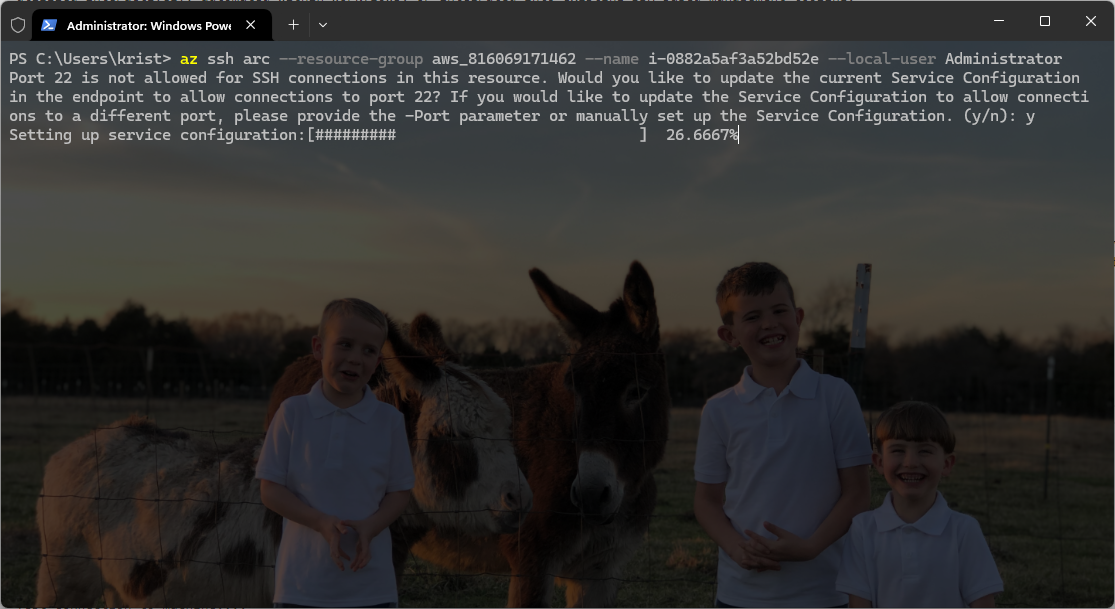
At this point, type Y and press Enter to allow connections to port 22. This action updates the service configuration to permit SSH access on the required port, enabling a secure connection.
After initiating the connection, wait while the SSH service is configured on the Azure Arc-enabled server. This process sets up the necessary parameters to establish a secure tunnel for the connection. Once the configuration is complete, the session will proceed.
Since this is the first time connecting via SSH, you will be prompted to approve the connection and add the SSH host key to your local machine’s known hosts file. When prompted, review the fingerprint to ensure it matches your server’s details, then type yes and press Enter to proceed. This step establishes trust between your local machine and the Azure Arc-enabled server.

At this point, you will be prompted to enter the password for the local account specified in the Azure CLI command. Provide the correct password for the account to complete the authentication process and establish the connection.
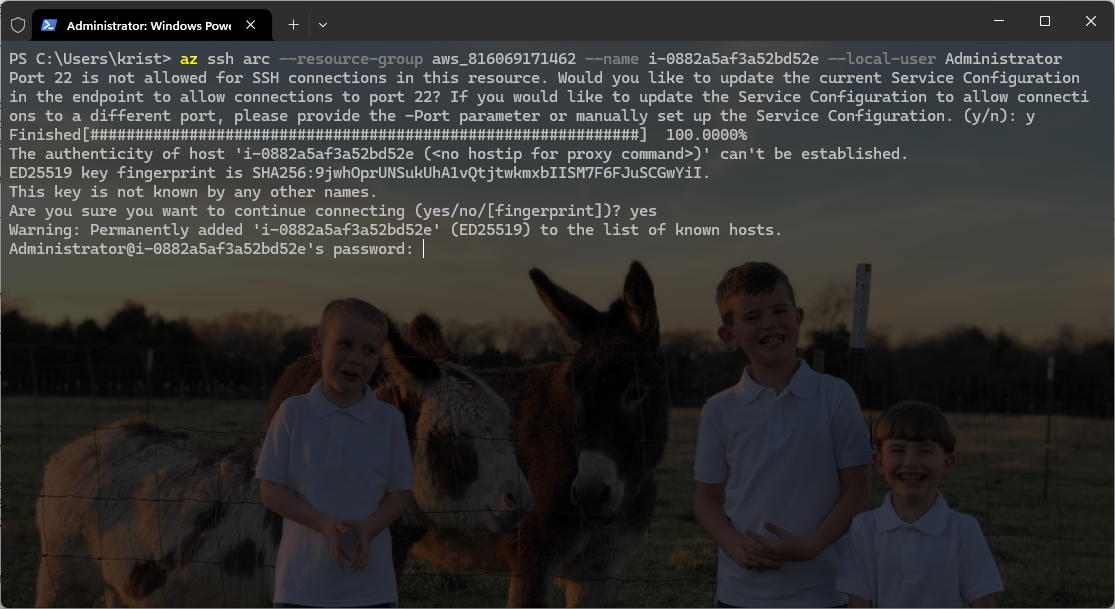
You are now successfully connected to your Azure Arc-enabled server via SSH. This secure connection allows you to manage and interact with the server as needed, leveraging the Azure Arc integration for centralized control.
Connect to Server via RDP over SSH
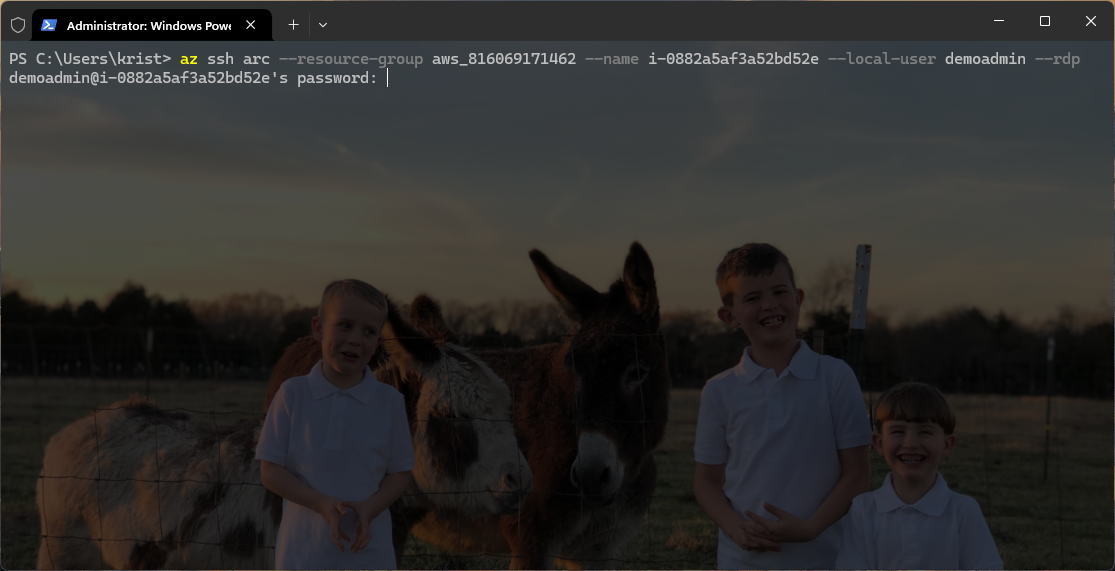
Run the following Azure CLI command to initiate the connection. Ensure the specified local account has the necessary permissions to log in to the machine via both SSH and RDP. Ensure this local account is configured with permissions to access the server using both SSH and RDP.
az ssh arc --resource-group <ResourceGroupName> --name <AzureArcVmName --local-user <Administrator> --rdp
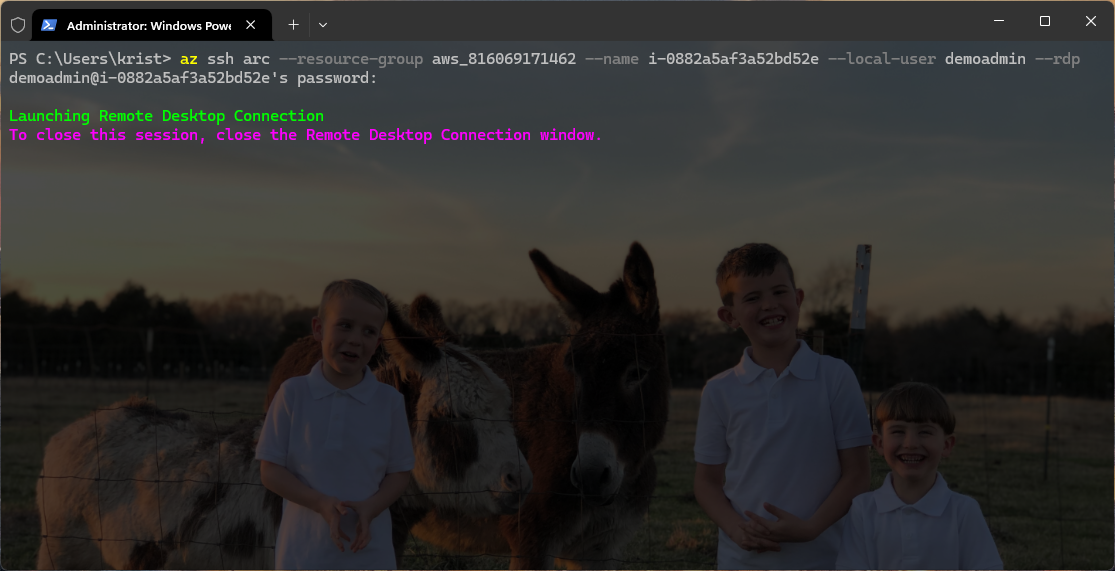
Once authentication via SSH is successful, the Remote Desktop Connection will launch. Keep in mind that the SSH window must remain open for the duration of the RDP session, as it acts as the secure tunnel facilitating the connection. Closing the SSH window will terminate the RDP session.
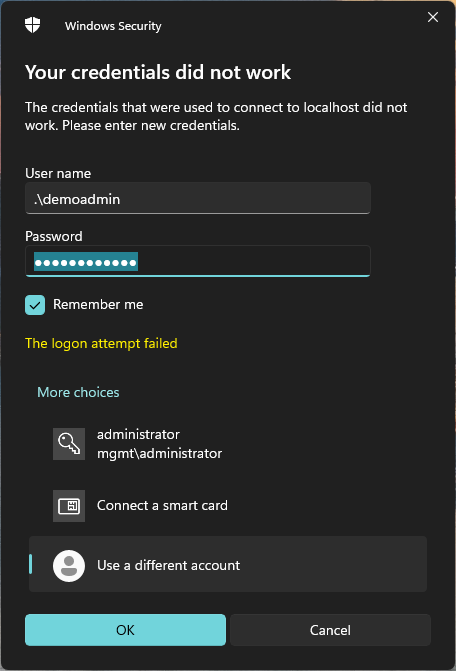
At this point, you will see the standard RDP login prompt. Here, you will need to enter the local account and password for the server.
(Note: I haven’t tested using a domain account yet, but it’s likely not supported in this setup.)
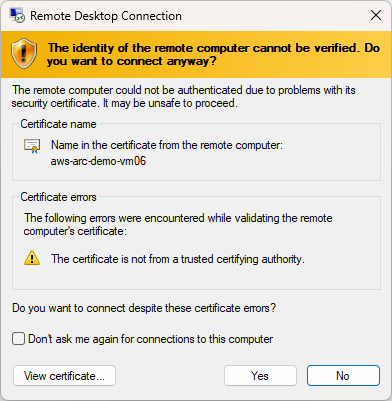
If the connection is successful, you will encounter the standard prompt regarding the machine’s certificate. This is normal behavior when initiating an RDP session, as it verifies the identity of the remote machine. Review the certificate details, and if everything looks correct, proceed by clicking Yes to continue to the session.
Next, the RDP session will initiate, and you will see the demo admin account logging in to the session. This confirms that the connection has been successfully established through the secure RDP via SSH process.

This final screenshot highlights what the title bar of your RDP session will look like once you’re connected. It serves as a visual confirmation that the session is established via Azure Arc’s secure SSH-to-RDP functionality.

At this point, we are successfully connected to our Azure Arc-enabled server using RDP via SSH—a powerful and secure way to remotely connect to any server that has been onboarded into Azure Arc.
For those concerned about security, rest assured—this method is highly secure. The connection leverages Azure’s authentication, RBAC, and encrypted communication over port 443. Additionally, there are no public IP addresses exposed on these machines in my environment, which significantly reduces attack vectors.
Of course, there are alternative methods for remote access. Azure Bastion, for example, is an excellent option for securely accessing Azure VMs directly through the Azure Portal without needing public IPs. In my environment, we make extensive use of Azure Bastion for connecting to Azure VMs. Furthermore, we have a Site-to-Site VPN set up between Azure and our on-premises infrastructure, allowing us to use Bastion for accessing not just Azure VMs but also Azure Local VMs and other supporting infrastructure onboarded to Azure Arc.
While Bastion is my preferred choice for remote access, using RDP via SSH to connect to Azure Arc-enabled servers is my second choice. It’s a great fallback option for securely managing and troubleshooting servers in distributed or hybrid environments.
Security
Security Considerations for Using RDP via SSH on an Azure Arc-Enabled Server
- Azure Tenant Authentication: You must authenticate to the Azure AD tenant linked to the Azure Arc resource. This ensures access is restricted to authorized users within the tenant
- Role-Based Access Control (RBAC): You need sufficient RBAC permissions (e.g., Virtual Machine Administrator Login or equivalent) to access the Azure Arc-enabled server resource in Azure
- Local Server Authentication: After gaining access through Azure, you must also authenticate at the server level. This typically requires valid local credentials (e.g., username and password or SSH key for a local account).
- Secure Communication: All communication is encrypted and occurs over port 443 (HTTPS) using the Azure Arc Agent, officially known as the Microsoft Connected Machine Agent, to facilitate the connection securely. No direct RDP port (3389) exposure is required.
Final Thoughts
I was thrilled when I first heard that Microsoft was adding SSH connectivity to Azure Arc-enabled servers. But when I discovered that we could take it a step further and do RDP through that SSH connection, I was genuinely excited. It’s such a powerful and secure way to manage servers without exposing public IPs or opening unnecessary ports. As Azure Arc continues to evolve, I’m eagerly anticipating the new features and improvements that will make managing hybrid environments even easier.
This approach may not fit everyone’s needs, but if you’re running Azure Arc-enabled servers, I highly recommend exploring RDP via SSH. It’s a game-changer for securely accessing and managing machines in hybrid and multi-cloud setups.
A lot of what I’ve learned came from these two sites:
- https://www.edtechirl.com/p/unlocking-remote-access-on-azure
- https://www.thomasmaurer.ch/2024/09/remote-desktop-connection-rdp-to-azure-arc-enabled-windows-server-machines-anywhere/
If you’re considering it, take the plunge—it’s worth it!
Ref: